Easy Seed Raisers

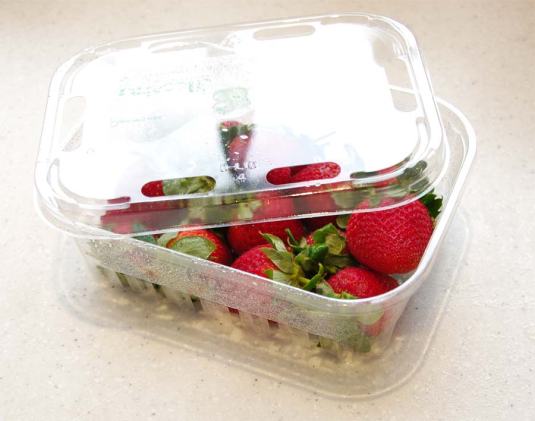
Stuffing the last juicy strawberry into my mouth I was about to discard the container when it occurred that it would make a perfect seed raising tray for the windowsill.

Stawberry punnet

Stawberry punnet – also excellent as a seed raising tray

Nice and compact, drainage holes in the base, breather holes in the top and clear plastic body with click-secure lid – perfect.

Of course it was the best excuse ever to go and buy some more strawberries, just because I had a lot of seeds to plant – well that was my rationale.

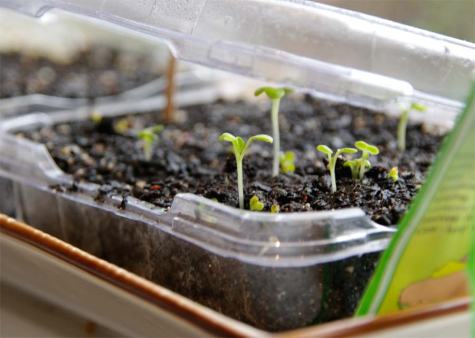
Pak Choi seedlings getting going

Pak Choi seedlings getting going

Just a few handfuls of fine seed raising mix to fill it, and its worth getting good seed mix which will always be better than a more coarse potting mix as it will hold each seed nice and snug and keep it moist.

Its important to firm it all down when you’ve planted the seeds and set each tray in a water-retaining dish.  Don’t let the trays sit in deep water but it is important to keep them quite moist as well as warm.

Instead of pouring water onto them I chose instead to apply with a water mister which is easy to use and allows precision control of water quantities.  It also means that the newly emerged foliage gets a regular misting too, keeping them moist and supple.

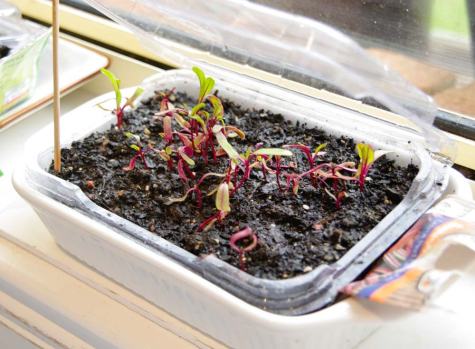
Beetroot seedlings

Beetroot seedlings looking good

I chose to keep the lid latched closed until the seeds germinate, the moisture will then recycle within the tray.  Then as they grow I prop the lid open to give them headroom – you’ll also not want them to get too humid as they start to grow as the leaves breath – which is of course where they get a lot of their carbon from to build growth.

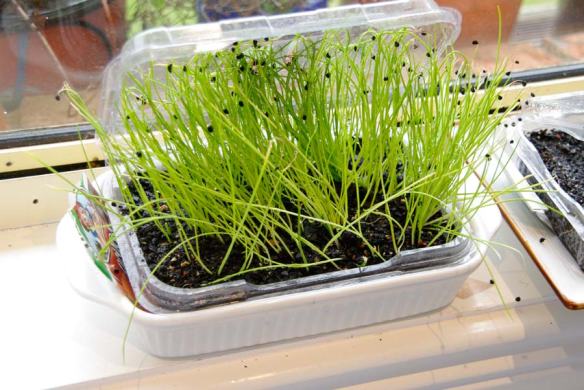
As you can see I’ve had some successes with Pak Choi, Beetroot and the out of date onion seeds went ballistic.  I planted them all not expecting them to grow as the ‘use-by-date’ was ten years overdue.

Onion seedlings

Onion seedlings going ballistic

You can purchase a single propagation container for about the same cost as buying six punnets of strawberries – they key advantage is here that you can pig-out first.

No contest.

Author: Bob Saunders (www.gardensonline.com.au)
Tasmanian Garden Paradise

This largely photographic blog entry is all about Jubilee Gardens in Cascade, Hobart, Tasmania.  It is literally someone’s suburban back-yard, albeit a half hectare backyard, that is so incredibly jam packed with plants the visitor is liable to ‘nature-overload’ (a.k.a. very happy).

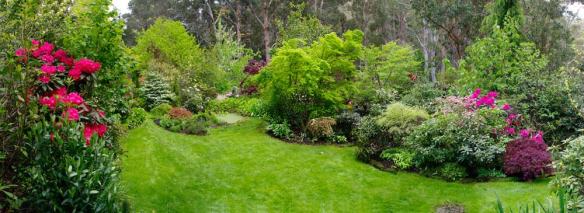
Jubiee gardens lawns

Jubiee gardens – a rare open space

Ted Cutlan and Joy Stones have collected thousands of plants and put them together into an extraordinary display that takes a wonderful few hours to enjoy to the full.  It’s very orientally inspired and has been only opened at peak flowering season around early November.  However since 2012 Ted and Joy have found that the demands have exceeded their capacity and it will not be open to the public from 2013 onwards and therefore this photo record will have to suffice from now on.

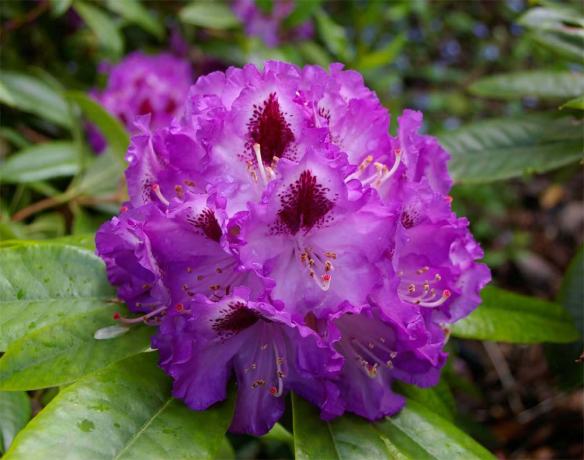
Purple rhododendron

One of the many fabulous rhododendron

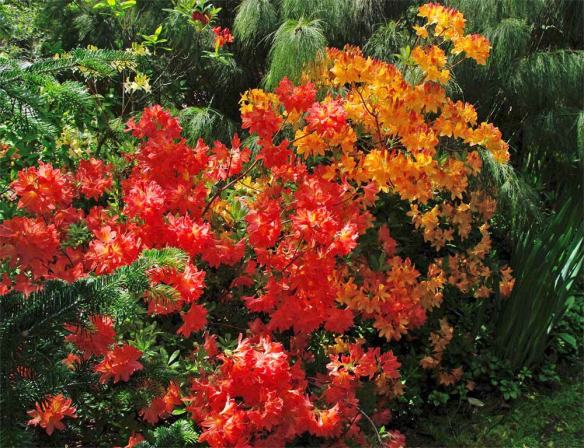
Its a massive undertaking that is the result of years of plant collection and nurturing with the main plants being Rhododendrons and Azaleas, all of which are in superb condition and make a wonderfully colourful display.

Orange Red Rhododendron

Rhododendrons in all colours

As you wend your way down the property through narrow, twisting pathways the higher trees provide the necessary dappled shade for many of these delicately featured oriental plants to thrive in peak conditions.

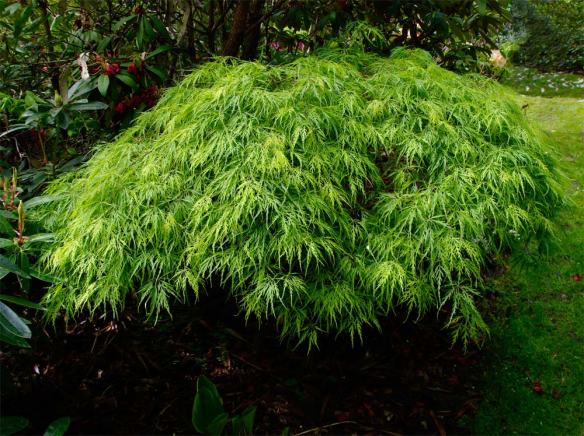
Wonderfully delicate Acers

Wonderfully delicate Acers

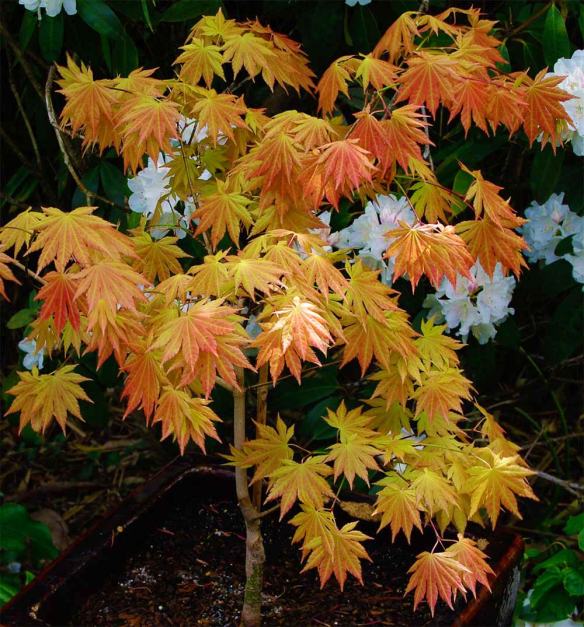
Ted and Joy are experts with ornamental Maples as can be seen by the collection of over a hundred different varieties especially Acer japonicum and Acer palmatum  (originating from Japan) that feature extraordinarily dissected and multi-coloured coloured foliage.  They propogate Acers in their well equipped greenhouses and continue to sell them to locals.

Red and orange acers

You don’t need to wait for autumn with these delicate acers

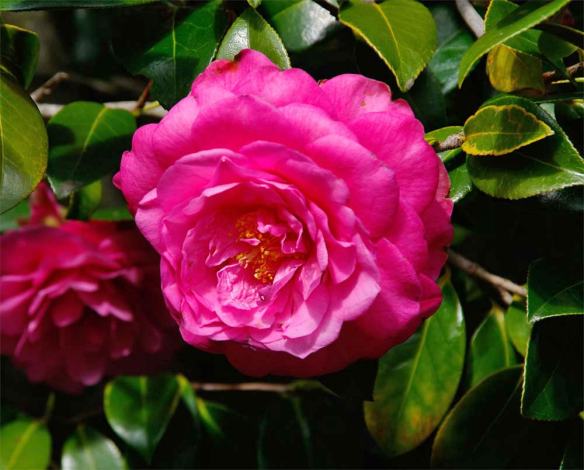
Then there’s the Camelias, many different varieties and species but because this garden is well sheltered from cold winds and sun-scorching, just about every plant you see is in perfect condition (a rarity even in the big botanical garden).

Full bloom camellias

Camellias in full spring colour

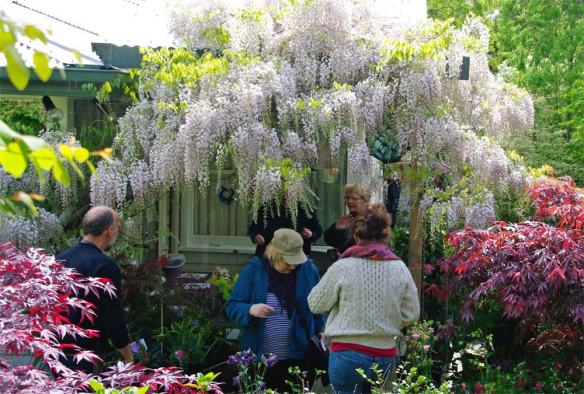
Another potent symbol of springtime are the cascading Wisterias, to be found at many turns of the twisting pathways or drooping elegantly over pergolas or garden archways.

Wisteria

Wisteria

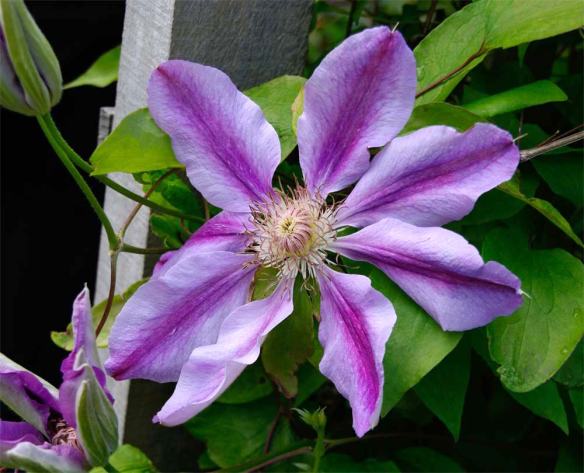
Jubilee Gardens also has a splendid collection of Clematis too, again climbing over trellis or fences.

Striped Clematis

Many varieties of Clematis on show

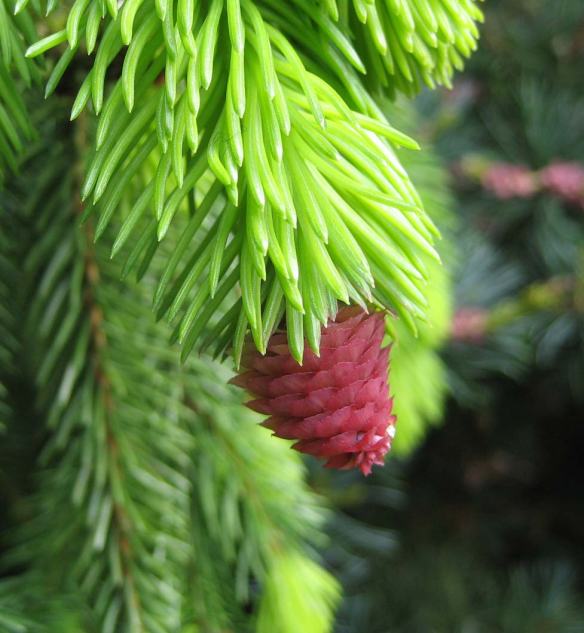
Jubilee Gardens boasts a fascinating collection of trees of all kinds including many conifers and some very elegant cooler climate deciduous trees.  They provide the needed shade whilst also adding to the overall rich textures of the gardens.

Confier cone

All plants are in superb condition

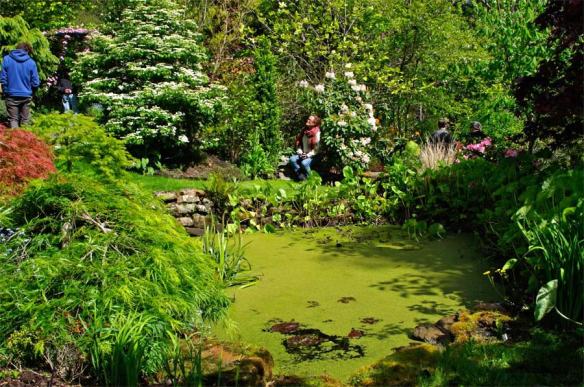
Water features seem to be such natural bed-fellows with any ‘Japonicas’ and ‘Sinensies’ and of course they also attract birds and frogs and a plethora of other bugs and insects – all part of the self-sustaining natural environment that is celebrated here.

Pond

Striking water features are used for contrast

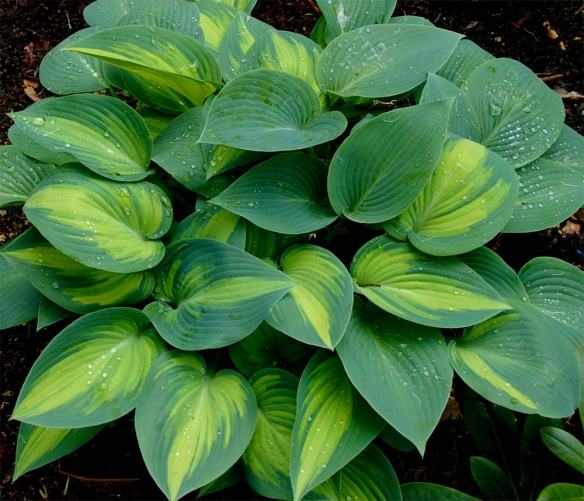
But we shouldn’t forget that very special foliage plant that is scattered in amongst the footings of the more spectacular blooming shrubs – I refer of course to Hosta and no end of colourful, ankle high spring flowers.

Hostas in shade

Hosta love this dappled shade

With so much to feast the eyes on at ground level you may not find time to look upwards – but if you do you’ll see Mount Wellington towering above – Jubilee Gardens being set in its foothills in Hobart’s south – as discovered by some of the GardensOnline team recently.

Author: Bob Saunders (www.gardensonline.com.au)
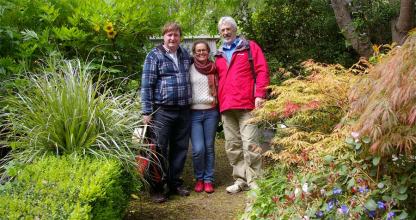
GardensOnline team hard at work

Some of the GardensOnline team hard at work

Growing Roots

My family always had a greenhouse, it was a revered part of the garden, and if I was lucky I was allowed in while dad re-potted or sowed fresh seed trays.

Greenhouse

The Greenhouse

No matter what time of year it was, the greenhouse was always lush and chock full of lusty growth.  The earthy smells, extra humidity, lime dustings on the glass in summer and kerosene heater aromas in winter all contributed to a unique and special place for a very junior apprentice gardener to spend time.

Setting roots

Setting roots

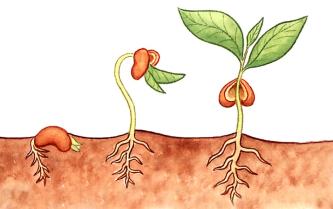
It was here that I learned the importance of roots, in fact the greenhouse is a temple to roots.  This is where they are teased out of twig cuttings, air layers or seeds.  It seems that roots are the start of everything (for humans and plants alike).
The Importance of Roots:
In the greenhouse I learned about soaking seeds, especially runner beans and other legumes, before planting.  Seeds also need a steady supply of warmth and moisture while they germinate – not too much of either, but always constant.  If roots dry out when forming, then they’ll just shrivel up and die very quickly.  Delicate things, roots, especially the very fine ones that grow in amongst the thicker ones.  These are the roots that can break off when you transplant, which is why it’s best to try to carry a tight rootball of soil with the young plant to its new position – this way the fine ones remain intact.
Transplanting seedlings:
Always prepare the hole first – just a bit bigger that the rootball you’re going to move.  Water your seedling first then insert the trowel or garden knife into the damp soil at an angle around the plant on all four sides.  Gently lift it out with a restraining hand on the other side, keeping the plug of soil around the roots intact as you insert it into its new home.  Backfill the hole with potting mix and firm down, followed by a gentle sprinkle of water.  Think of it as taking a sleeping baby from the car seat to its cot.
Transplanting seedlings

Transplanting seedlings

Softwood cuttings:

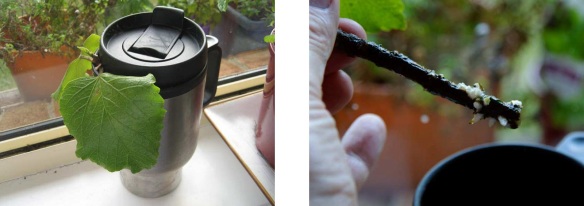
Hibiscus are perhaps the easiest shrub to propagate from cuttings.  I’ve often broken off a twig on a walk, then plopped it into a glass of water on the windowsill to grow roots.  There are half a dozen beauties in my garden as testament to the technique.   But the proper way to do it is to cut the sample cleanly with a sharp knife, trim off all but a couple of leaves, then place it in a water container that is as light proof as possible, allowing only the leaves to enjoy the sunshine.  This is because roots naturally grow in the dark and, having learned this trick only recently, I can attest that they grow much faster in the dark.
Hibiscus rooting

Hibiscus growing roots quicker in the dark

Author: Bob Saunders (www.gardensonline.com.au)